How to add videos, articles, recipes, and more to your gym member app


Adding workout videos, healthy recipes, and other types of content to your member app is a great way to boost engagement and keep your members coming back for more.
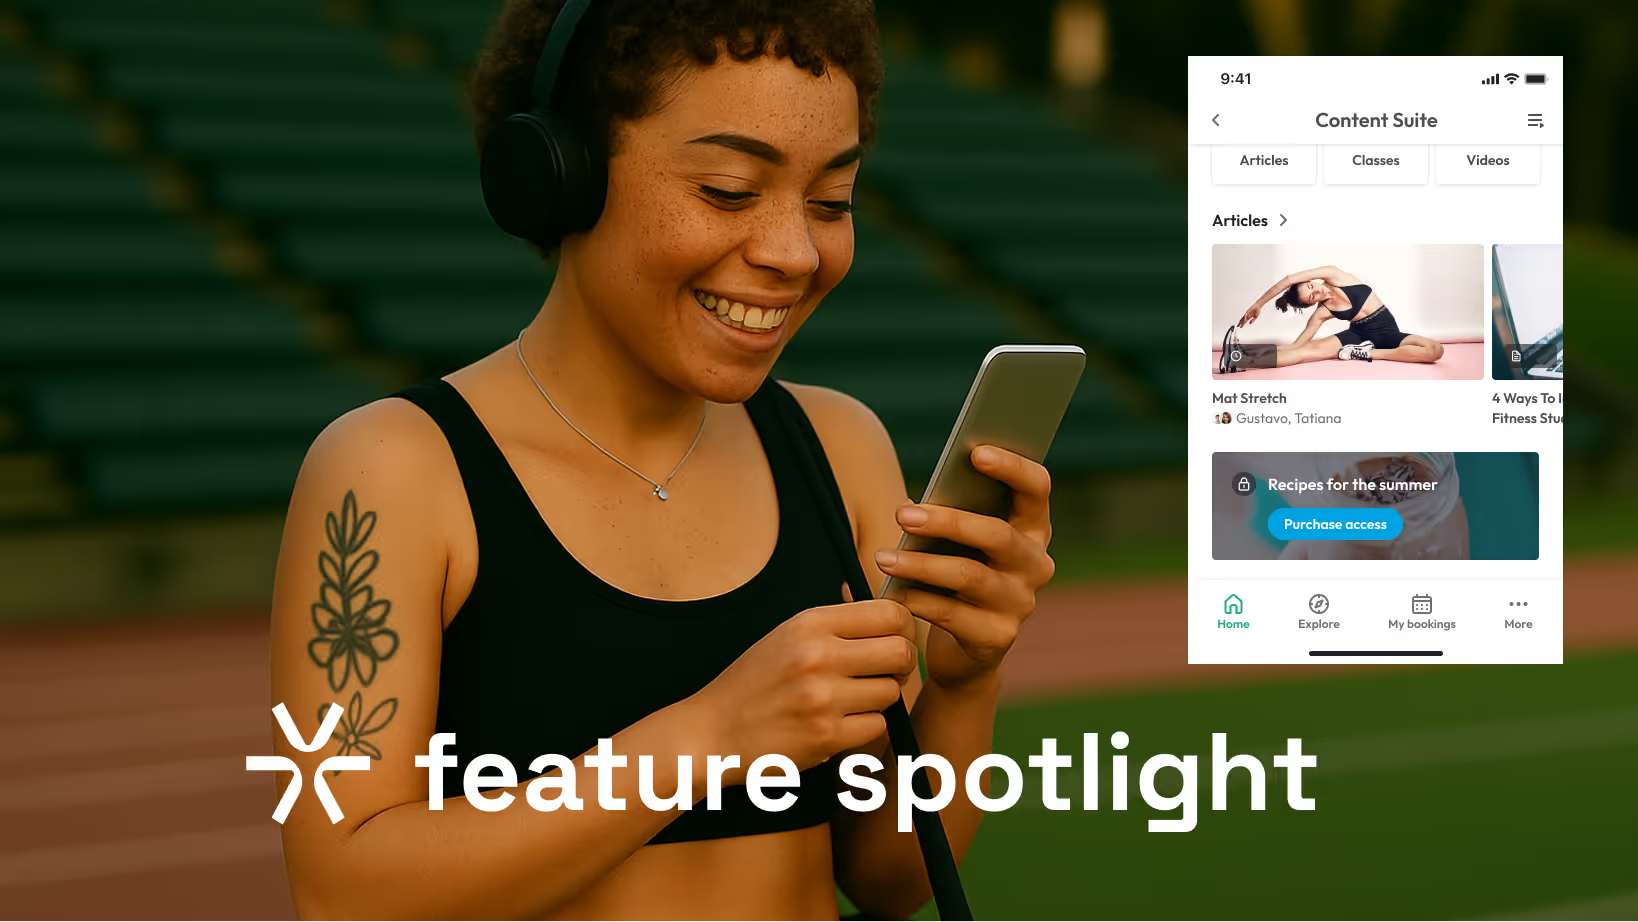
The question is, how do you get started? With Hapana's white-label branded member app, you'll get access to an easy-to-use content suite. This is where you can add all your articles, health tips, recipes, and more.
Let’s take a look at how easy it is to add custom content to your member app.
Getting started with your content suite
If you’re new to Hapana, then you may not have used our content suite. This is where you can manage all the content that goes into your app – including articles, home banners, videos, and images.

Like its name suggests, this is your go-to hub for adding content to your app. Doing so is easy (as we’ll explore below).
To make all this awesome content easy for members to find, you’ll first want to set up content categories and sub-categories on the app. For example, you might have a Workouts category that contains sub-categories like Cardio, Strength, Flexibility, and so on. Or a Recipes category that contains sub-categories like Healthy snacks, Salads, and Smoothies.
To set up categories in the content suite:
- Navigate to the Content tab
- Select Add new content, then Category
- Add the category name
- Attach any sub-categories (if required)
- Apply visibility settings (e.g. tags, location exclusions, and preview lock)
- Click Publish
To set up sub-categories, you follow a similar process – except you’ll select Subcategory when you add an entry.
With your categories all set up, you can start adding content to each one.
How to add a workout video to your app
You’ve filmed a fab instructional video. Now it’s time to load it to your app for members to view. Here’s how to do it in the CMS:
- Navigate to the Content tab
- Select Add new content, then Video article
- Add the video title and image
- Add the video source (either via a URL, like Vimeo or YouTube, or a JW Player media ID)
- Complete other form fields as required (e.g. livestream settings, duration, instructor, intensity, focus, equipment, and written content)
- Apply visibility settings (e.g. tags, category, display order, location exclusions, and preview lock)
- Click Publish
Remember, for your video to display correctly in the app, it needs to be either 720p or 1080p resolution.
How to add a general article to your app
Written an article about mindfulness that your members might appreciate? You can easily add articles to your app, just like you would to a website or blog. Here’s how:
- Navigate to the Content tab
- Select Add new content, then General article
- Add the article title and image
- Add the written content
- Apply visibility settings (e.g. tags, category, display order, location exclusions, and preview lock)
- Click Publish
How to add a recipe to your app
You’ve got a delicious new salad recipe you know your members will love. To load it to your app:
- Navigate to the Content tab
- Select Add new content, then Recipe article
- Add the recipe name and image
- Complete other form fields as required (e.g. duration, calories, servings, macronutrient breakdown, ingredients, directions, meal type, and nutrition information)
- Apply visibility settings (e.g. tags, category, display order, location exclusions, and preview lock)
- Click Publish
How to add banners to promote your content
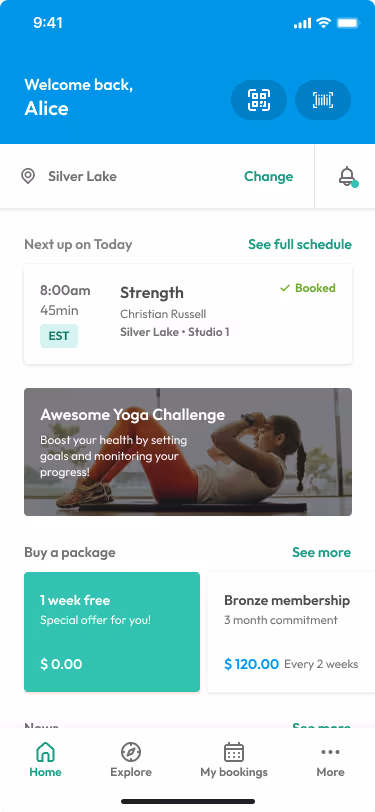
With all that great content added to your app, how do you promote it? Two words: home banners. A home banner is like a little ad on the home screen that a user can click on to be taken to another area of the app or an external URL.
To create a home banner:
- Navigate to the Content tab
- Select Add new content, then Banner
- Add the title of the banner
- Upload the image (see below for image ratios)
- Add an optional URL
- Apply visibility settings (e.g. tags, category, display order, location exclusions, and preview lock)
- Click Publish
Home banners can be various sizes, the largest being 2:1 and the smallest being 4:1. Depending on the size you select, your image will need to be the same ratio as the banner:
- Body 2:1 – image ratio 2:1
- Body 3:1 – image ratio 3:1
- Body 4:1 – image ratio 4:1
- Headline – image ratio 2:1, and the banner displays at the top of the home screen
You can also add banners to the ‘More’ screen of the app. The banner sizes are the same as those on the home page.
Want more tips on adding custom content?
Like any new software platform, learning how to get the most out of your content suite takes a bit of time and practice. Don’t worry – you don’t have to go it alone. Our support team is here to help.
Interested in partnering with Hapana to launch an engaging app for your members? Book a tour of the software to see how your gym or fitness studio can get the most out of it.
Bec has been writing in the tech space for over 20 years, and brings a real knack for turning complex tech jargon into words every customer can understand. An ex-Australian athlete who loves to hit the gym between runs, she's the perfect fit for Hapana.


Get started with Hapana
- Manage members with ease
- Migrate your data hassle-free
- Priority support from our team